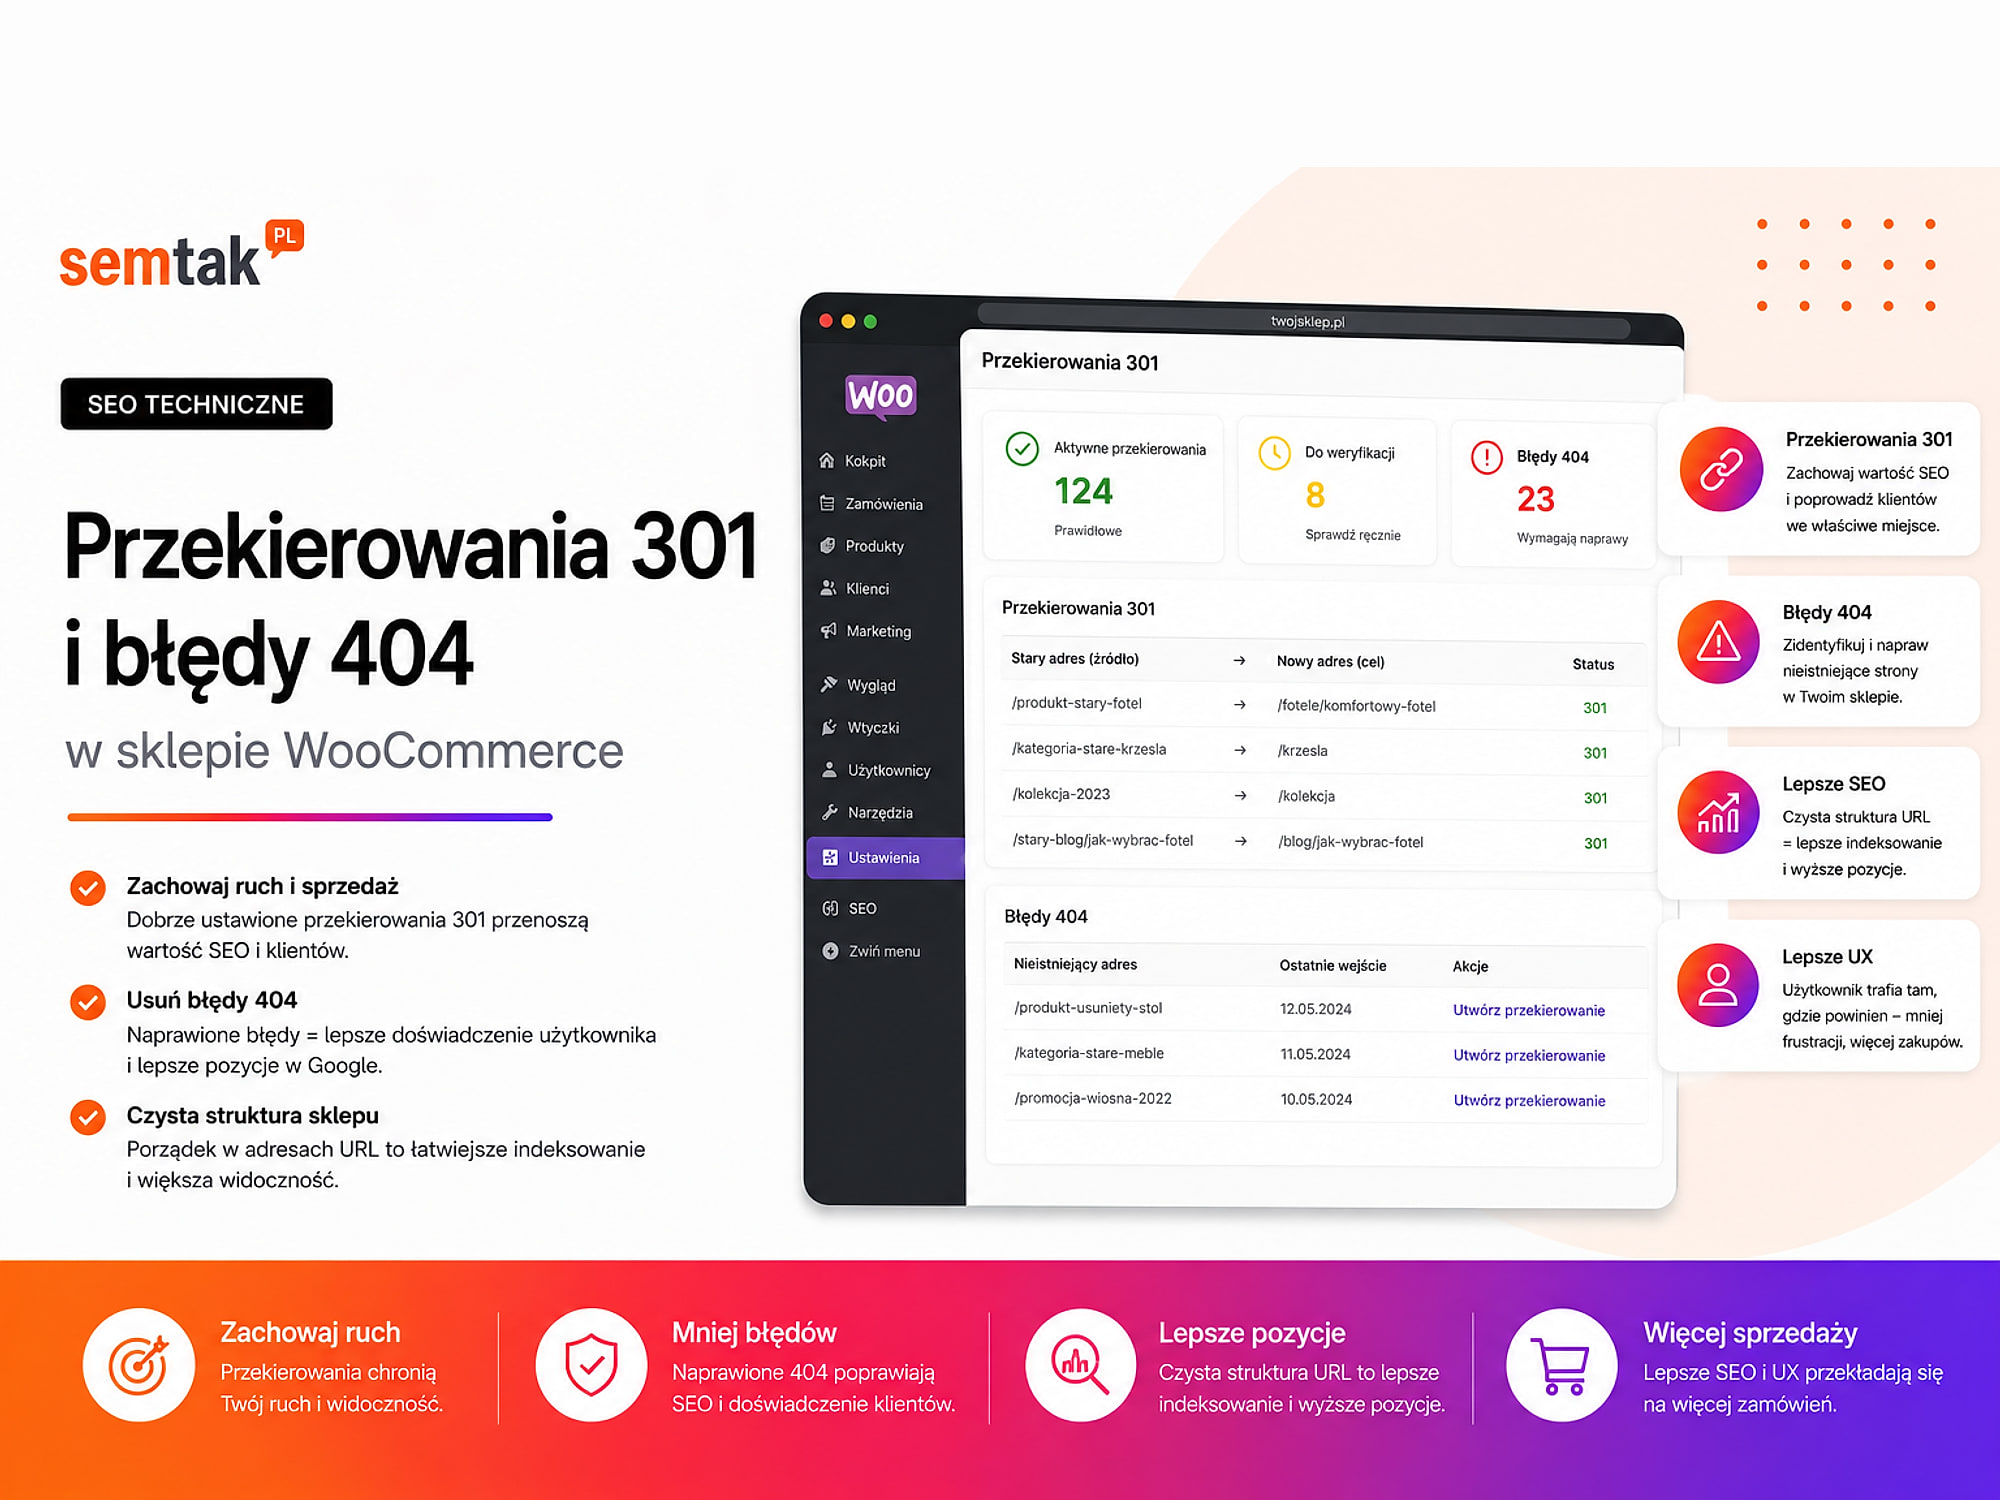
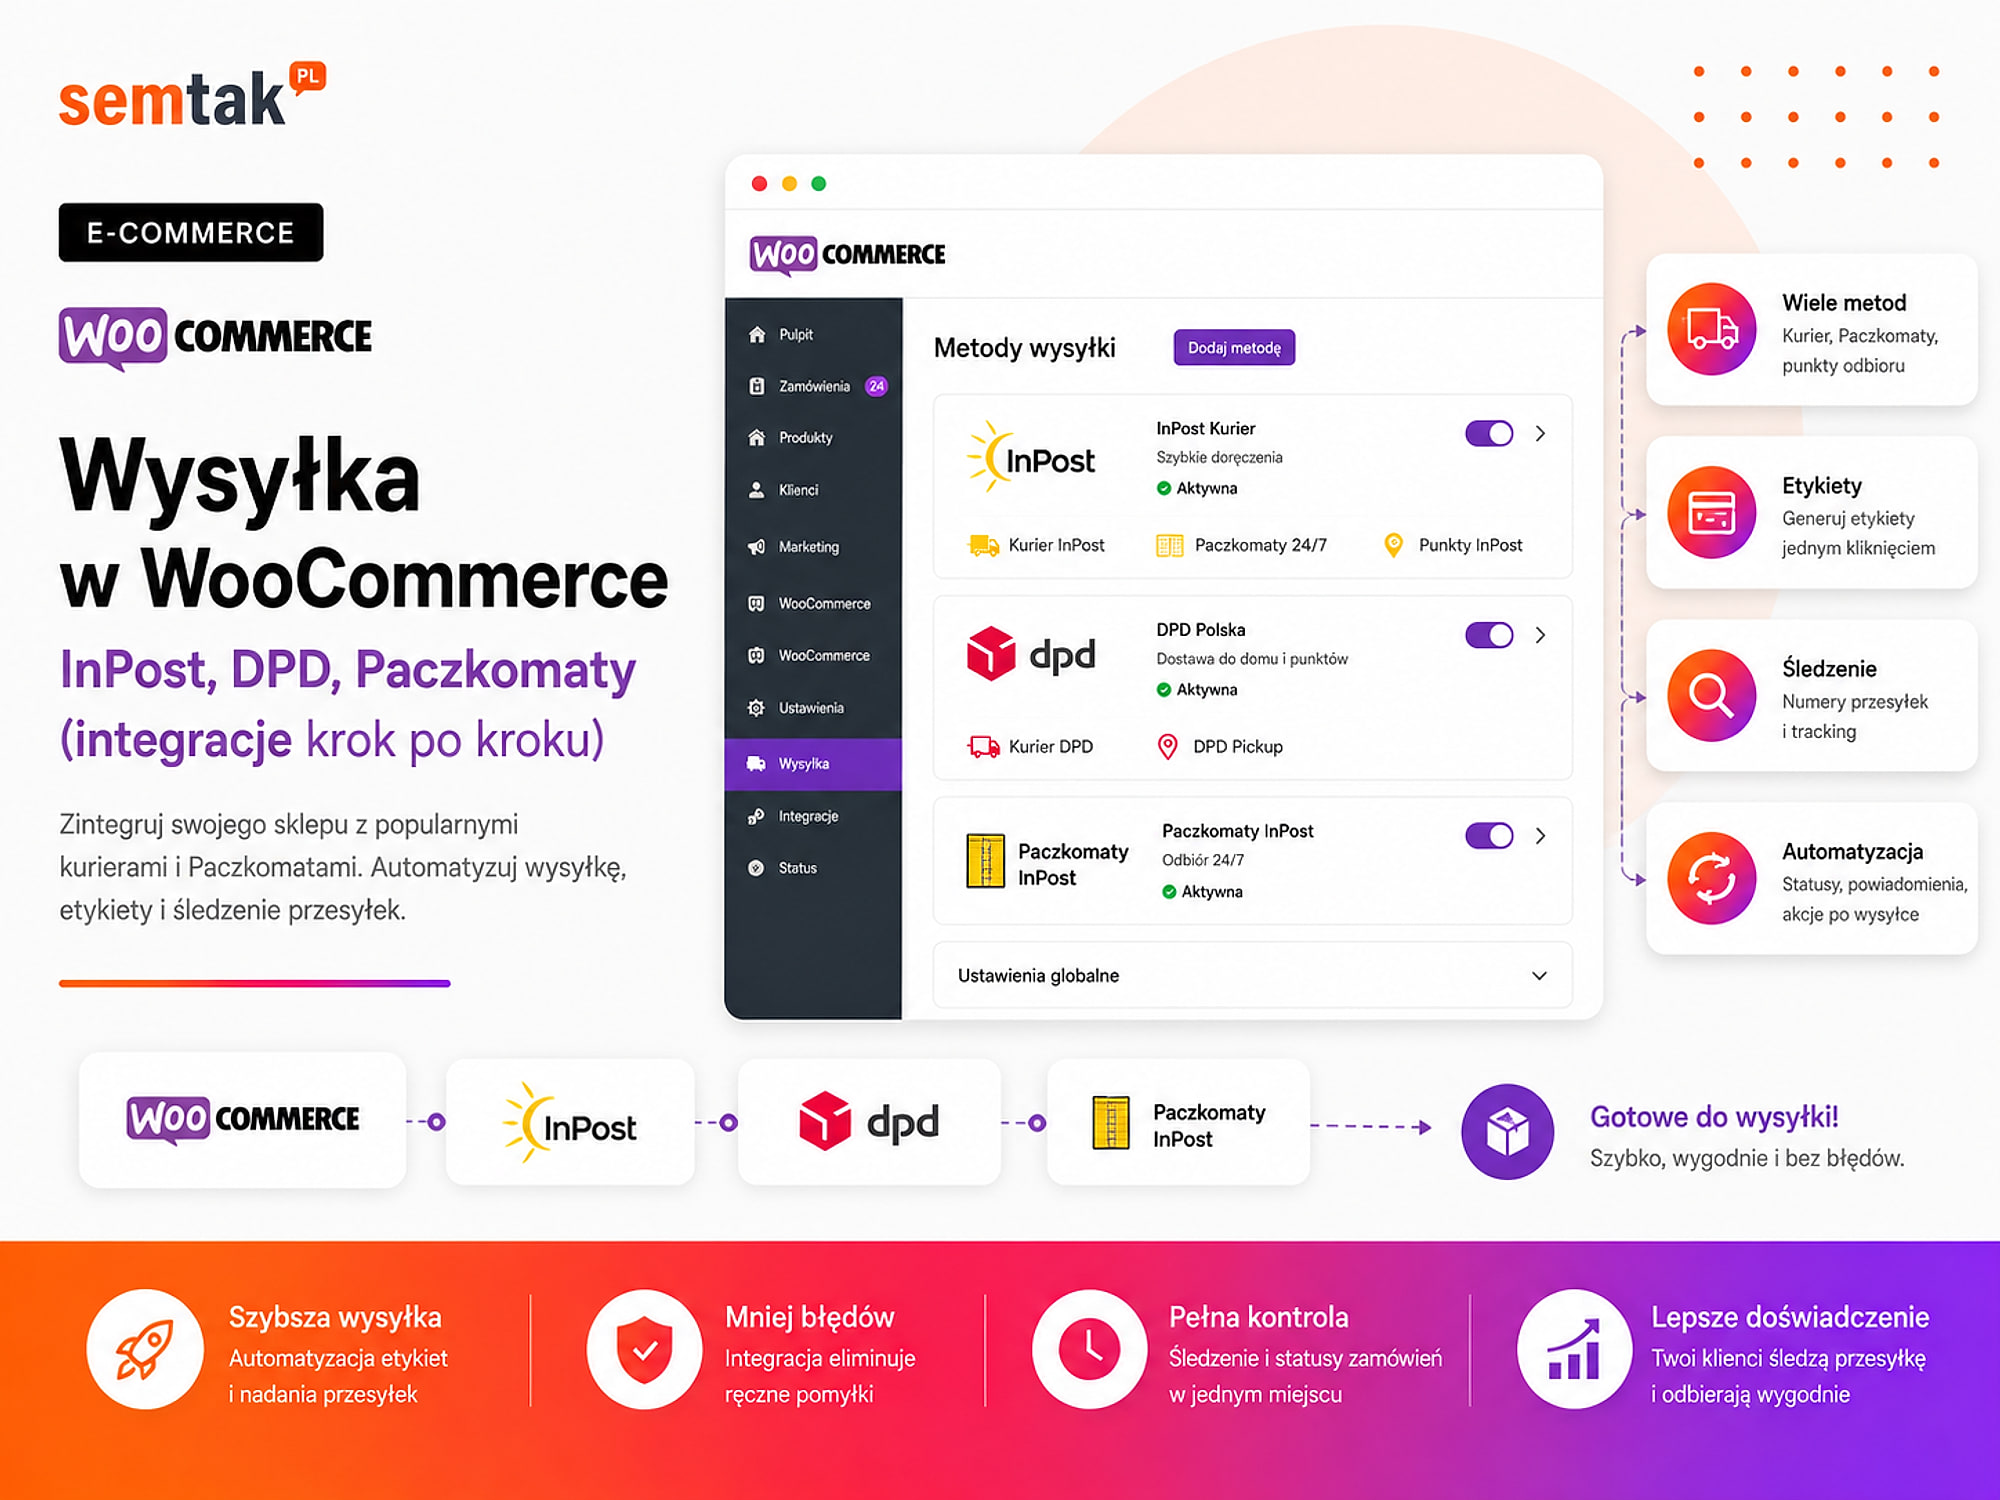
WooCommerce Shipping — Royal Mail, Couriers, Parcel Lockers (step-by-step integrations)

A customer added a product to the basket and wants to choose a parcel locker. The map won't open, the selected point isn't saved in the order, or WooCommerce shows the message: "No shipping methods available".
This is one of the problems that directly blocks sales. Even a well-promoted store won't earn anything if the customer can't choose a delivery method or, at checkout, sees a cost completely different from what they expected.
Correct shipping in WooCommerce isn't just adding a "Courier — £3" option. You need to configure zones, prices, parcel dimensions, free delivery, collection points, labels, cash on delivery, tracking and the handover of orders to the carrier or an external system.
In this guide we show you how to set up Royal Mail, couriers and parcel lockers in WooCommerce, how to choose between a direct plugin and an integrator, and what to test before going live with shipping.
In short
Shipping in WooCommerce (Royal Mail, couriers, parcel lockers) is implemented through dedicated plugins that integrate the map of points, label generation and delivery methods in the basket. The most common errors — a non-working parcel locker map, an unsaved point, the "No shipping methods available" message or a different cost at checkout — directly block sales. The key is correct configuration of zones and delivery methods plus a test of the full purchase path on a phone.
In a nutshell (TL;DR)
- WooCommerce shows delivery methods based on the zone that matches the customer's address.
- The integration should handle point selection, creating shipments, labels and tracking — not just the price at checkout.
- Parcel lockers work well for smaller parcels, while a courier suits larger shipments and delivery to the door.
- The price shown to the customer may differ from the cost charged by the carrier, but it must result from a deliberate calculation.
- Before publishing, test a small and a large basket, free shipping, cash on delivery, an oversized product and choosing a point on a phone.
- With several carriers and sales channels, an integrator or a multi-channel order manager may be more convenient.
- Creating a label does not yet mean the parcel has been handed over to the courier.
All the abbreviations in one place
API — the way the store communicates with the carrier's system; it lets you pass the address, create a shipment and download a label.
Order manager — a system for managing orders and shipping across several channels (WooCommerce, marketplaces, comparison sites).
ERP — a system for running a business: warehouse, invoices, orders and finances.
HPOS (High-Performance Order Storage) — storing WooCommerce orders in separate tables; the courier plugin must read them correctly.
Cache — a saved version of the page; if misconfigured it can show outdated methods, prices or the collection point.
Staging — a test copy of the store for checking changes without blocking sales.
One-page checkout — products, customer details, delivery and payment on a single page.
ZPL/EPL — label formats for thermal printers; with an ordinary printer a PDF is often more convenient.
How does shipping work in WooCommerce?
WooCommerce matches the customer to a single shipping zone, and then shows the methods assigned to that zone.
In simplified terms, the process looks like this: the customer enters an address → WooCommerce picks a zone → shows methods → the customer chooses delivery → the data goes to the carrier. An example configuration:
| Zone | Area | Available methods |
|---|---|---|
| London | Selected postcodes | Local delivery, click & collect |
| United Kingdom | The whole country | Parcel locker, courier, collection point |
| European Union | Selected countries | International courier |
| Rest of the world | The rest of the world | No shipping or individual quote |
A customer matches only one zone. WooCommerce picks the first zone on the list whose conditions match the given address.
The order of zones matters
If a broad "United Kingdom" zone sits above a zone limited to London postcodes, a customer from London may not see local delivery. Set the most specific zones higher and the general ones lower.
What does a courier integration actually do?
A good integration handles three areas: the method visible to the customer, creating the shipment and the further fulfilment of the order.
1. The delivery method at checkout. The customer should see the method name, the price, information about free shipping, a map or list of points, any restrictions and a clear way of collecting the parcel.
2. Creating the shipment. The store team should be able to pass the recipient's details, choose the service and dimensions, enter the weight, set cash on delivery, define the insurance value, create one or several parcels, generate a label and book a courier collection.
3. Handling after dispatch. The integration can pass on the shipment number, a tracking link, the parcel status, information for the email, the details for the "My account" tab, and information for the order manager or ERP system.
The "Courier — £4.99" method alone is not yet a full integration. If, after an order is placed, an employee still manually copies the customer's address into the carrier's panel, the process has not been fully automated.
A carrier plugin or an integrator?
A direct plugin works well with one or two carriers. An integrator makes more sense with several couriers, marketplaces and a higher volume of orders.
| Solution | Strengths | Limitations |
|---|---|---|
| Royal Mail plugin | Tracked and untracked services, labels, returns | Mainly handles Royal Mail services |
| Courier integration | Courier, cash on delivery, collection points, labels and tracking | The recommended solution requires an extra plugin |
| Courier integrator | Several carriers in one place | Another panel and additional configuration |
| Order manager | Orders, labels and multi-channel automations | For a small store it may be overkill |
| Custom API integration | Full control over the process | High cost to build and maintain |
A direct plugin is a good choice when you mainly use one carrier, you have your own contract with the carrier, you want to handle shipments in WooCommerce, you don't sell across many marketplaces, and the warehouse works directly in the store panel.
An integrator will be better when you use several courier companies, you also sell on marketplaces or other platforms, you need bulk shipment creation, labels are printed by a separate warehouse, you want to automate statuses and documents, or orders are managed outside WordPress.
If an order manager is the main panel for handling orders, it is usually worth generating labels there. WooCommerce can remain the source of orders rather than another place where the same work is done. We describe this process in more detail in our guide on WooCommerce integrations with accounting and order management.
Royal Mail or a courier — what to choose for WooCommerce?
Most often you don't have to choose a single carrier. Parcel lockers and collection points can handle smaller parcels, while a courier handles larger shipments and delivery to the door.
| Area | Royal Mail / lockers | Courier |
|---|---|---|
| Delivery to a locker | Parcel locker | Courier locker |
| Delivery to a point | Post Office / collection points | Courier collection points |
| Courier | Yes | Yes |
| Cash on delivery | Depending on the service and contract | Available for the relevant services |
| International shipping | Depending on the service | Available in international services |
| Point selection | Map and list of points | Courier point map |
| Labels from WooCommerce | Yes | Yes |
| Courier collection | Handled by the integration | Depending on configuration |
| Multiple parcels | Available in selected services | Handled by the integration |
| Who is it for? | Stores with a large share of locker deliveries | Courier stores and those with larger parcels |
Don't compare just the price of a single shipment
Also check the maximum weight, allowed dimensions, how the size is calculated, surcharges for an irregular shape, multi-parcel shipments, cash on delivery, insurance, parcel collection, returns and international shipping. The lowest base rate doesn't mean the lowest real cost.
What to prepare before installing the plugin?
Before implementation, settle the delivery rules, parcel parameters and the way orders are handled day to day.
Prepare an active carrier account, the right contract, API access credentials, the dispatch address, contact person details, typical parcel parameters, the list of delivery countries, customer prices, the free-shipping threshold, cash-on-delivery rules, products excluded from lockers, and information on where labels will be created. Treat API data like an administrator password — don't put it in a public ticket, a manual or a screenshot.
Check the type of checkout. WooCommerce can use a classic checkout, a block-based checkout, a checkout modified by the theme or a one-page checkout. A point map that works in the classic checkout won't necessarily behave the same way in a block-based or custom solution. Before implementation, check support for WooCommerce Blocks, HPOS compatibility, theme compatibility, interaction with the cache and support for additional checkout fields.
How to configure shipping zones?
First configure the delivery logic in WooCommerce, and only then add specific Royal Mail and courier methods.
Go to: WooCommerce → Settings → Shipping → Shipping zones.
Step 1: add a "United Kingdom" zone. Select the United Kingdom region. You can then add a Parcel locker, Royal Mail, a Courier, courier collection points, click & collect and free shipping to the zone.
Step 2: add local zones. If you offer your own transport: select a city or region, limit the zone to postcodes, add local delivery and set this zone above the general "United Kingdom" zone.
Step 3: add foreign zones. Don't add a single rate for the whole of Europe if costs and services differ between countries. You can start with separate zones: Ireland, Germany, France, the Netherlands and the other countries you serve.
Step 4: check the "Rest of the world". This zone covers customers who don't match the earlier rules. If you don't ship beyond selected countries, don't add a random method to it — a customer from a distant market shouldn't be offered a domestic courier for a few pounds.
How to set the cost of shipping?
The price for the customer should account for the carrier cost, packaging, warehouse work and your free-delivery strategy.
We don't give specific carrier rates, because they depend on the contract, shipment volume, dimensions and additional services. Work them out based on your own contract, the cost of packaging and the real surcharges. You can use a flat rate, a price based on weight, a price based on dimensions, a cost based on basket value, prices assigned to shipping classes, free delivery above a set threshold or an individual quote for unusual products.
| Condition | Parcel locker | Courier |
|---|---|---|
| Basket up to £39 | £2.99 | £3.99 |
| Basket over £39 | £0 | £1.99 |
| Oversized product | Unavailable | £9.99 |
| Cash on delivery | Surcharge | Surcharge |
| International shipping | Unavailable | By zone |
This is an example of how to structure a price list, not a set of recommended rates.
Account for additional costs. A fuel surcharge, cash on delivery, insurance, collection, an irregular shape, exceeding the dimensions, a multi-parcel shipment, a return, redelivery, an international shipment and Saturday handling can all affect the real cost. You may have a good base rate and still subsidise the shipping of every order if you don't account for the box, the filling and the warehouse time.
How do shipping classes work?
Shipping classes group products with similar requirements, but on their own they neither charge a price nor hide methods.
Example classes: standard, small locker, large locker, courier only, oversized product, pallet, click & collect, individual quote.
Example: a cosmetics store sells creams, gift sets and large display stands for salons. A cream can go into the smallest compartment, a gift set needs a larger size, and a display stand shouldn't have parcel-locker delivery available. A shipping class lets you recognise the type of product — but you still need a rule or a plugin that, based on this class, changes the price or hides the unsuitable method.
How to implement Royal Mail in WooCommerce step by step?
A Royal Mail integration should let the customer choose a point and let the store team create shipments without manually copying data.
Step 1: activate the account and the services you need. Decide which methods you use: Tracked 24/48, Special Delivery, courier service, cash on delivery, weekend delivery, easy returns and other services available in your contract. An option being visible in the plugin doesn't automatically mean each one is active on the account.
Step 2: install the current Royal Mail plugin. Use the module recommended by the operator and downloaded from the official source. Before installing, make a backup, prepare a staging environment, check the WooCommerce and PHP version, verify the block checkout and read the plugin's latest changes.
Step 3: enter the access credentials. The integration may require an API token, an organisation identifier, a token for the point map, sender details, the parcel collection address and contact details. Keep test and production data separate.
Step 4: add methods to the "United Kingdom" zone. Add a parcel locker, a courier and a cash-on-delivery method (if you offer it). Set the name visible to the customer, the price, the free-shipping threshold, the default size, product classes, taxes and any exclusions.
Step 5: configure the point map. The customer should be able to open the map, search for a town or postcode, choose a point, see its address, change the point and return to checkout without losing data. After selection, the point identifier must be saved in the order.
Step 6: configure the parcel parameters. Set the default size, weight, insurance, cash on delivery, number of parcels, the method of creating the shipment and the label format. Set the size based on the product once packed, not the dimensions of the goods themselves.
Step 7: set up labels and collections. Check shipment creation from an order, multi-parcel shipments, bulk actions, the label format, booking a collection, saving the tracking number and the message to the customer.
Step 8: test returns. If you use Royal Mail returns, check how the customer receives the instructions, where the return number is saved, whether the return is linked to the order, what data the team sees and whether the status change happens at the right moment.
How to correctly implement parcel-locker selection?
The chosen point must be saved in the order and passed to all the systems used when fulfilling the shipment.
The map is not merely a visual element. The point's data should reach the WooCommerce order, the admin panel, the courier integration, the order manager (if used), the label and the information for the customer. Scenarios that need to be checked:
- The customer chooses a point and places an order.
- They change the method from a parcel locker to a courier.
- They return to the parcel locker and choose a different point.
- They refresh the page before placing the order.
- They use a phone.
- The basket contains a product excluded from lockers.
- The order goes to an external system.
Check the result in the order, not the button on the map
The most common problem: the customer sees the point on the screen, completes the order, but the point identifier isn't saved — and the warehouse doesn't know where to send the parcel. That's why you should verify the result in the FINISHED order, not just the behaviour of the button on the map.
How to implement a courier in WooCommerce step by step?
Many courier companies provide a WooCommerce integration delivered through a partner that requires a free base shipping plugin.
The integration can handle, among others, domestic courier shipments, cash on delivery, international shipments, collection points, courier lockers, Saturday delivery, a Next Day service, several parcels in one shipment, as well as labels and tracking. The availability of a specific service depends on the contract with the carrier and the account configuration.
Step 1: define the scope of services. Check whether you need a standard courier, cash on delivery, Saturday delivery, Next Day, international shipments, collection points, parcel lockers, multi-parcel shipments or additional dispatch addresses.
Step 2: get API access. Prepare the company details, customer number, sender address, warehouse address, contact details and the information the carrier requires to issue a key.
Step 3: install the required plugins. A courier integration often points to a partner solution. The courier WooCommerce module may require a dedicated plugin, a free base shipping plugin and an active licence for updates and support if you use the paid version. Before implementation, check the current requirements, the WooCommerce version, the PHP version, HPOS compatibility, the checkout type and the provider's documentation.
Step 4: configure the courier service. Set the method name, cost, standard shipment, cash on delivery, the shipment value, default parameters, the dispatch address and the shipment creation rule.
Step 5: add collection points. The customer should be able to choose a partner point, a parcel locker or another available courier point. Check that the point is passed to the order, the messages, the label, the order manager and the warehouse panel.
Step 6: configure labels. Set the format (PDF, ZPL or EPL), the print size, single printing, bulk actions, the dispatch protocol and automatic shipment creation.
Step 7: configure automation. You can specify the status at which the shipment will be created, for example: Ready to ship → create courier shipment. Don't activate this rule without first settling the warehouse process — for orders requiring several parcels or manual checking, automatic shipment creation may happen too early.
How to set up free shipping?
The free-shipping threshold should encourage a bigger basket, but it mustn't cause you to constantly subsidise orders.
Example: average basket value £30, margin after product costs £9, total cost of preparation and delivery £3.60. Free shipping from £32 may not change customer behaviour if most orders already exceed that amount. A threshold of £49 may encourage adding another product, but only if the range allows the basket to be increased sensibly.
Decide: whether the threshold counts before or after a coupon, which methods it covers, whether it applies to cash on delivery, whether it covers oversized items, whether it works only in the UK, and whether the customer sees how much is left to the threshold. After activating free shipping, WooCommerce may still show a free parcel locker, a paid parcel locker and a paid courier. It's worth hiding the paid equivalent of the same service — though you can leave the more expensive courier as an alternative to free collection at a point.
How to handle cash-on-delivery shipments?
Cash on delivery has to be linked to the carrier's service, the order amount and the right data for settlement.
Check whether the chosen service supports cash on delivery, whether it works for a point or locker, whether the correct amount reaches the carrier, which account the funds are paid into, whether a value limit applies, whether an additional fee appears and how an unclaimed parcel return is handled. Example rules: courier — cash on delivery available; parcel locker — only in the relevant service variant; international shipping — depending on the offer; digital product — no shipping and no cash on delivery. Don't show payment on collection if the chosen delivery doesn't support it. We describe configuring payment methods in more detail in our guide on payments in WooCommerce.
What about large and heavy products?
Not every product should have a parcel locker or a standard courier available.
For furniture, large lamps, equipment and sets, check the product dimensions, the dimensions once packed, the weight, the number of parcels, whether it can be stacked, an irregular shape, the need for a pallet, whether it can be carried in and the insurance value. Example: a store sells a set of four chairs. Each chair separately fits in a typical courier shipment, but the whole set is packed in two large boxes — if WooCommerce calculates the cost of one parcel, the store may subsidise the shipping. You may need multi-parcel shipments, shipping classes, parcel-count rules, pallet transport or an individual quote.
How to automate labels and statuses?
A label can be created automatically, but the order should change status in line with the actual stage of warehouse work.
An example process:
- The customer pays for the order.
- The order moves to "Processing".
- The warehouse picks the products.
- After the "Ready to ship" status the shipment is created.
- The label is printed.
- The tracking number reaches the customer.
- The parcel is handed over to the carrier.
- The order receives the "Completed" status.
A label ≠ a dispatched parcel
Creating a label doesn't yet mean the parcel has left the warehouse. Automatic label creation makes sense when the product data is complete, the weight and dimensions are reliable, one order usually means one parcel, the delivery method clearly indicates the service, and parcels don't require manual repacking. Manual checking will be better when the number of parcels depends on the contents, the products are unusual, orders are combined, different warehouses are in operation, part of the goods is shipped separately or the insurance requires an employee's decision.
Is it worth using an order manager for shipping?
An order manager makes sense when the store handles many channels, carriers or a higher volume of orders.
It can take over pulling orders from WooCommerce, combining orders from marketplaces, generating labels, sending tracking numbers, automated actions, status changes, stock synchronisation and document printing. Example: order paid → check the method → create the shipment → print the label → send the number to the customer → send the data to the warehouse. With 10 orders a month an extra system may be unnecessary; with 200 orders a day, manually creating labels across several panels increases the risk of mistakes and delays.
The most common WooCommerce shipping errors
Most problems stem from badly set zones, an incompatible checkout or incomplete product data.
No methods for the customer's address. Check the country, postcode, zone order, active methods, product settings, shipping classes and additional restrictions. The most specific zone should sit higher than the zone covering the whole country.
The point map won't open. The cause may be a JavaScript conflict, the cache, a blocked script, an incompatible checkout, a theme error or an incompatible plugin version. JavaScript is responsible here for, among other things, the interactive opening of the map and updating the checkout.
A parcel locker is available for an oversized product. The product may have no assigned class, weight, dimensions or rule excluding lockers.
The wrong shipping price. The most common causes: the cost charged per product, a wrong class, the wrong zone, a double base fee, a badly set threshold, different price calculation before and after the discount, or an incorrect tax setting.
A free and a paid version of the same method. The customer shouldn't see a free and a paid parcel locker with identical conditions at the same time.
A label created too early. The shipment is created before the order is picked. A later change in the number of parcels requires cancellation or a manual correction.
No tracking number. The number exists in the carrier's panel, but it wasn't saved in WooCommerce or sent to the customer.
An update without a test. A new version of WooCommerce, the theme or the integration can change how the checkout works. The problem is only noticed after a customer reports it.
How to check whether shipping works correctly?
The test should cover the checkout, the collection point, the shipment data, the label, the status and external systems.
| Stage | What to check? |
|---|---|
| Basket | The price reacts to the contents and order value |
| Address | The customer ends up in the right zone |
| Methods | Only available options are shown |
| Collection point | It can be chosen and changed |
| Order | The method and point are saved in the panel |
| Shipment | The recipient's data is correct |
| Size | It matches the real packaging |
| Cash on delivery | The amount and account are correct |
| Label | It contains the right data and format |
| Tracking | The number is available to the customer |
| Integration | The data reaches the order manager or ERP |
| Status | It changes at the right moment |
| Return | It can be linked to the order |
WooCommerce shipping implementation checklist
Before choosing an integration:
- I know the number of shipments per month;
- I know the average parcel weight;
- I know the typical packaging dimensions;
- I know which products don't fit in a locker;
- I know whether I need cash on delivery;
- I know whether I ship abroad;
- I know whether I need several carriers;
- I've set the free-delivery threshold;
- I've compared the surcharges and additional costs;
- I've settled how returns are handled.
Before installation:
- I've backed up the database and files;
- I've prepared a staging environment;
- I've checked the WooCommerce version;
- I've checked the checkout type;
- I've checked HPOS compatibility;
- I've checked the required add-ons;
- I have an active carrier account;
- I have the API access credentials;
- I've downloaded the current plugin;
- I've settled where labels are printed.
WooCommerce configuration:
- I've created a "United Kingdom" zone;
- I've set local zones above general ones;
- I've configured the countries served;
- I've checked the "Rest of the world" zone;
- I've added the right methods;
- I've set the prices;
- I've configured free shipping;
- I've set the shipping classes;
- I've disabled lockers for oversized items;
- I've linked cash on delivery to delivery.
Tests:
- a small product to a parcel locker;
- a large courier product;
- a mixed basket;
- free delivery;
- a discount coupon;
- cash on delivery;
- choosing a point on a phone;
- changing the point;
- refreshing the checkout;
- a multi-parcel shipment;
- international shipping;
- creating a label;
- the tracking number;
- the message to the customer;
- the handover to the order manager or ERP.
After going live:
- I've placed a real order;
- I've checked the cost on the carrier's invoice;
- I've compared it with the price for the customer;
- I've checked the surcharges;
- I've checked the status changes;
- I've tested a return;
- I've reviewed the errors in the logs;
- I've checked it works after an update;
- I'm monitoring orders without a collection point;
- I'm checking shipments created but not dispatched.
What can you check yourself?
A basic shipping check can be done without editing any code.
1. Add the smallest product to the basket. Check whether a parcel locker and a courier appear.
2. Add an oversized product. A method unsuited to its dimensions should disappear.
3. Enter different addresses. Check the UK, a local zone and a selected foreign country.
4. Exceed the free-shipping threshold. Make sure the paid version of the same service doesn't duplicate the free one.
5. Place a cash-on-delivery order. Verify the amount passed to the carrier.
6. Generate a label. Compare the customer's data, phone, weight, point and cash on delivery.
7. Check the message to the customer. It should contain the right method and the tracking number.
8. Compare the cost with the carrier's invoice. Check whether the store regularly subsidises badly priced parcels.
When is it worth commissioning the integration to a specialist?
Technical help is needed when delivery depends on many products, countries, warehouses or external systems.
It's worth commissioning the implementation when:
- the store already sells and can't afford a blocked checkout;
- you use a block-based or custom checkout;
- you have many shipping classes;
- you sell oversized goods;
- an order may consist of several parcels;
- you use cash on delivery;
- you ship abroad;
- different warehouses are in operation;
- orders go to an order manager;
- labels are meant to be created automatically;
- delivery prices are calculated incorrectly;
- methods disappear after an update;
- the integration requires individual rules.
A specialist should check not only the plugin, but also the zones, product classes, checkout, prices, cache, point selection, API, statuses, labels, order handover, returns and mobile behaviour.
Frequently asked questions
How do I add parcel lockers to WooCommerce?
Set up a carrier account, get the access credentials, install the current plugin, add the method to the "United Kingdom" zone, set the price and configure the point map. Then run a full test order.
Does WooCommerce have a built-in Royal Mail integration?
WooCommerce has a system of zones and basic shipping methods, but the parcel-locker map, labels and the connection to a carrier require an additional integration.
Can I have Royal Mail and a courier at the same time?
Yes. You can offer parcel lockers, Royal Mail, a courier and courier collection points in the same zone. You do, however, need to tidy up the prices and the visibility of the methods.
Why does WooCommerce show no available shipping?
Most often the customer's address doesn't match the right zone, the zones are in the wrong order, the method is disabled or the product has incorrect shipping settings.
Why isn't the chosen parcel locker saved in the order?
The cause may be a checkout, theme, JavaScript or cache conflict, or an incompatible plugin version. Check the result on a full test order.
Does the courier plugin automatically pull prices from the contract?
Not always. You often set the price visible to the customer separately in WooCommerce. It may differ from the cost charged by the carrier.
Should free shipping hide paid methods?
It's worth hiding the paid equivalent of the same service. You can, however, leave the more expensive courier as an alternative to free collection at a point.
Does creating a label mean the order has been dispatched?
No. A label means a shipment has been created in the system. The dispatched status should match the actual handover of the parcel to the carrier.
Do you want to set up shipping in WooCommerce correctly?
Simply adding a "Parcel locker" or "Courier" option takes a few minutes. Correctly setting up zones, sizes, free delivery, points, labels and statuses, however, requires checking the whole order process:
- WooCommerce store development — Royal Mail, couriers, payments and integrations implemented from day one.
- WordPress and WooCommerce technical maintenance — when the map doesn't work, prices are wrong or the point isn't saved in the order.
- Payments in WooCommerce — cash on delivery and payment gateways.
- WooCommerce integrations with accounting and order management — invoices, orders and multi-channel shipping.