
How to grant access to Google Analytics.
A guide – step by step:
Google Analytics is the most widely used platform that allows you to track website statistics. We have prepared a short guide that shows how you can grant other users access to a Google Analytics account. This option is very useful if you want to share statistics with a new employee, or with the staff of the SEO agency you work with. Passing on login details in the form of a username and password is not a secure solution, so it is best to grant access directly in the Google Analytics panel.
Types of permissions:
Depending on the needs, you can assign any number of permissions to each user:
Manage Users – allows you to remove and add new users, that is, to grant access to others.
Edit – allows the user to add, edit and delete accounts, properties, views and filters, but does not include managing accounts.
Collaborate – allows you to work together with another user, as well as create views, manipulate data, use pivot tables and edit.
Read & Analyze – allows the user to view Google Analytics statistics, create segments or manipulate data. This permission does not provide the ability to collaborate, edit data or configure filters.
Account → Property → View
If you grant access to a property for a given user, they will receive access to all views. Access to the account, on the other hand, will give them access to all properties and views.
How to grant access for a new user:
Step 1:
Sign in to your Google Analytics account.
Step 2:
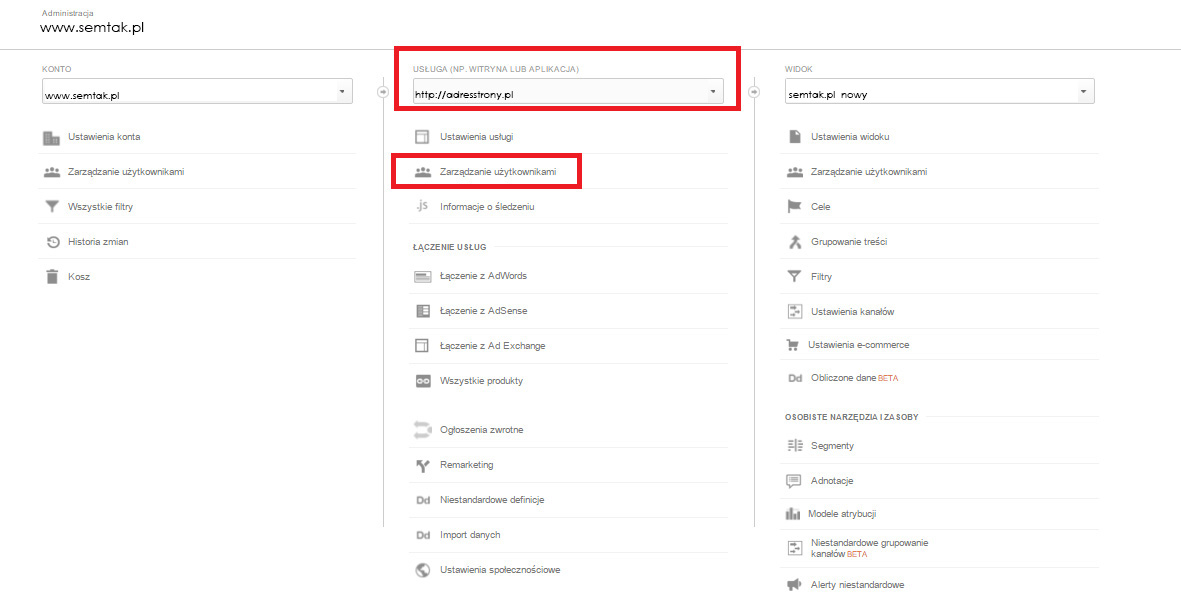
Select the ADMIN tab and then USER MANAGEMENT (the first column relates to management at the account level, the middle one at the property level, and the last one at the view level).
Step 3:
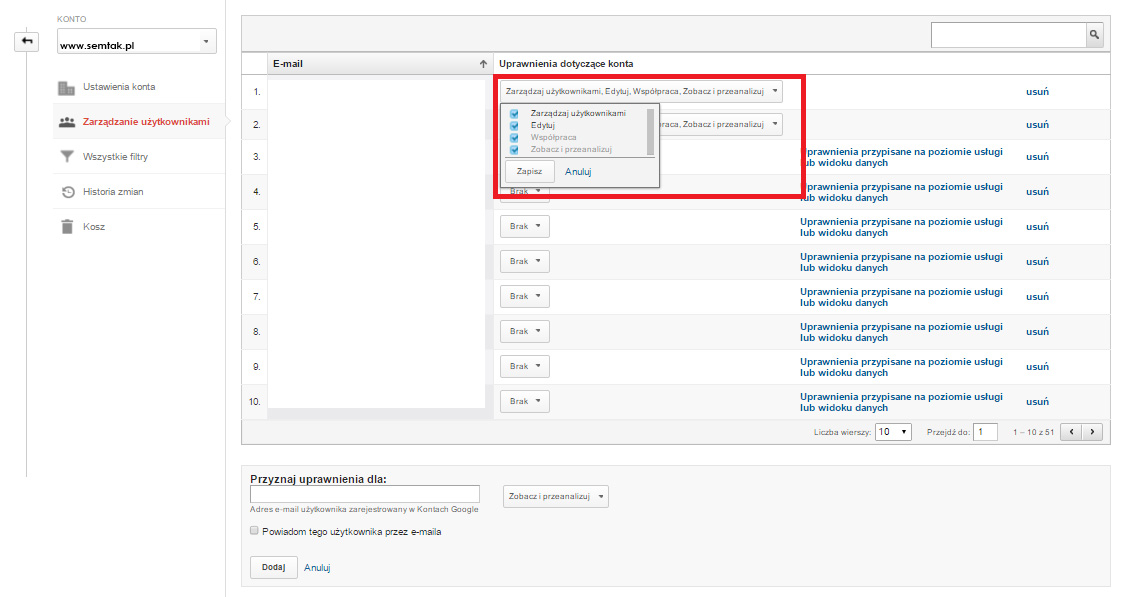
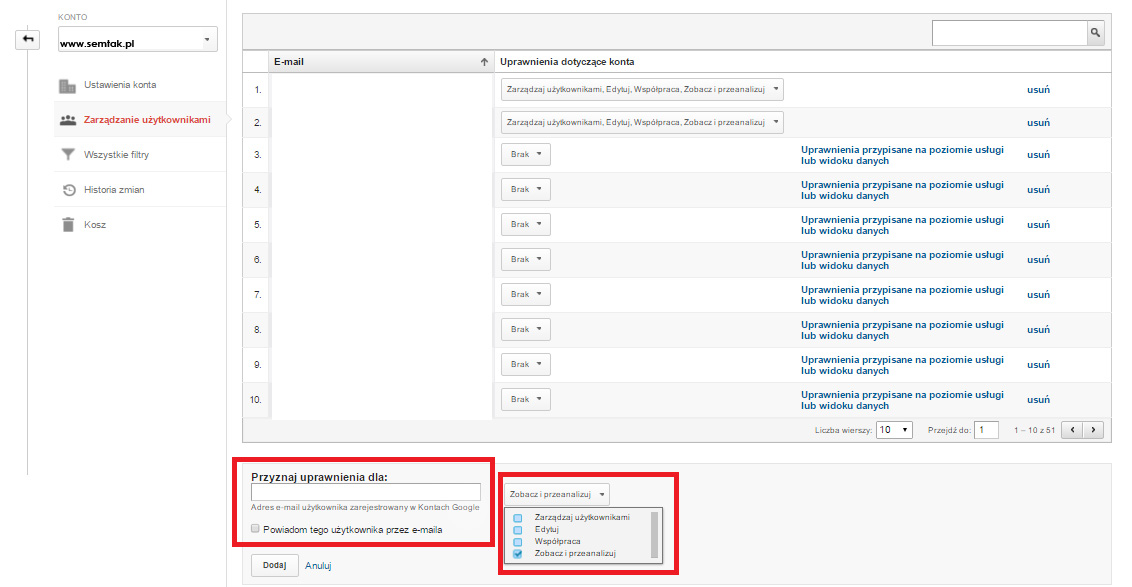
In the field at the bottom, fill in the email address of the user you want to grant permissions to. Below the address you can tick the option: „Notify this user by email”, after ticking which they will receive a message about the permissions granted. Then specify the permission level from the list on the right-hand side.
Step 4:
Click the ADD button and you are done. The permissions for the new user have been granted. Remember that at any time you can change the permission level or remove a given user.